


I have been meaning to get this post up but have had a hard time finding the time. A couple weekends ago, my sister surprised the boys and I with a great craft and brought all the supplies to do it. She had seen it online somewhere and was dying to try it out. Many of you are probably aware of the things you can do with freezer paper stencils, but I was not and this post is for the ones that were like me or the ones curious to see how ours came out.


After drawing the stencils out, we ironed them onto the shirts where we wanted them. Take that extra second to make sure the stencils are ironed on well. And try not to remove them and adjust them. The less they are messed with, the better.
Next, we kind of made a few mistakes in our crafting adventure. We didn't have cardboard right available ( I know, but I had just got rid of it all) so we used garbage bags in between the layers and hung them out on the clothes line. We filled a spray bottle with 1/3 bleach and 2/3 water. We then spaced the shirts out and started spraying them with the bleach water around the stencils. The black shirts came out great, or so we thought. The red shirts didn't seem to be doing anything, and the blues were just barely showing any effects also. The more time that went by we realized the freezer paper didn't seem to work at all on the black shirts because the bleach went right through. I know that at one point we tried straight bleach because it didn't seem to be working. This was a huge mistake. What didn't look like much outside became a lot more brighter in the washer and dryer. Most of the shirts got bleached out. Here was some shirts from the first round:

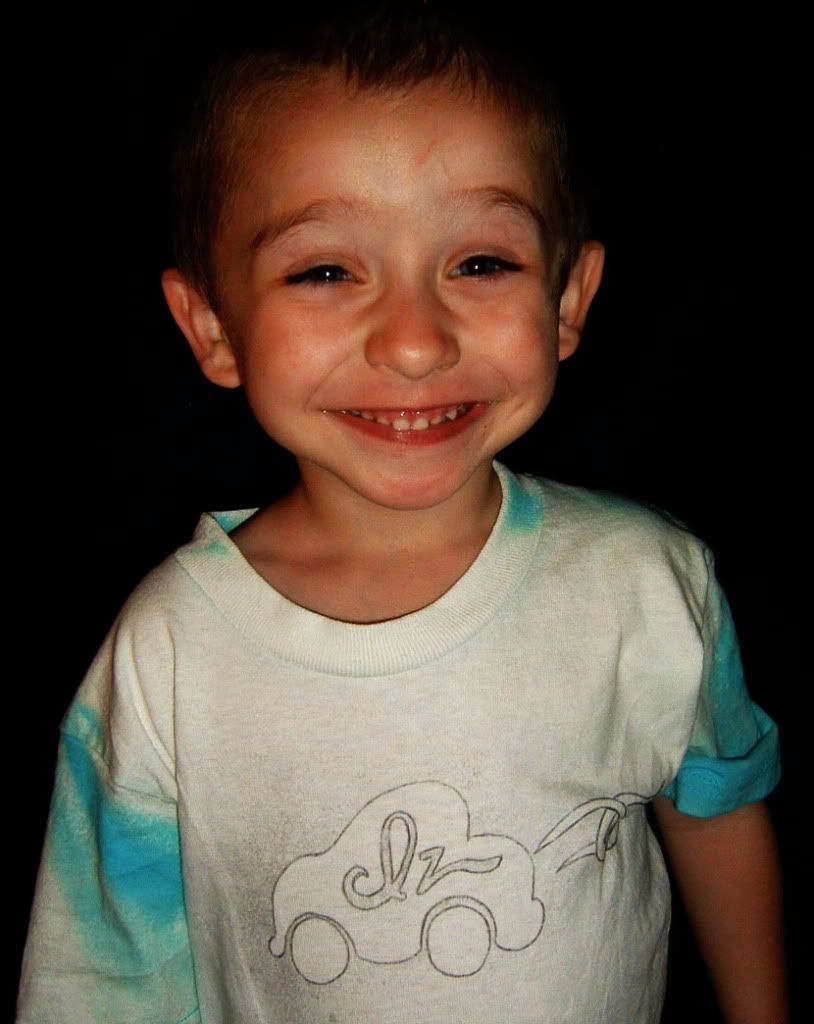
Here is Spaz' shirt. The bleach did work find on the red shirt and the stencil held out, but hanging it on the line made drips. I didn't mind this and neither did Spaz, in fact he really likes this shirt. But I was determined to get this craft right. Below is Lil Riot's shirt but his got really bleached out, so I drew the car and his nickname back on it. He has since then chewed it to the trash can :/ Bad habit that I can't seem to break in all 3 boys! As you can see, he is very happy showing it off :)
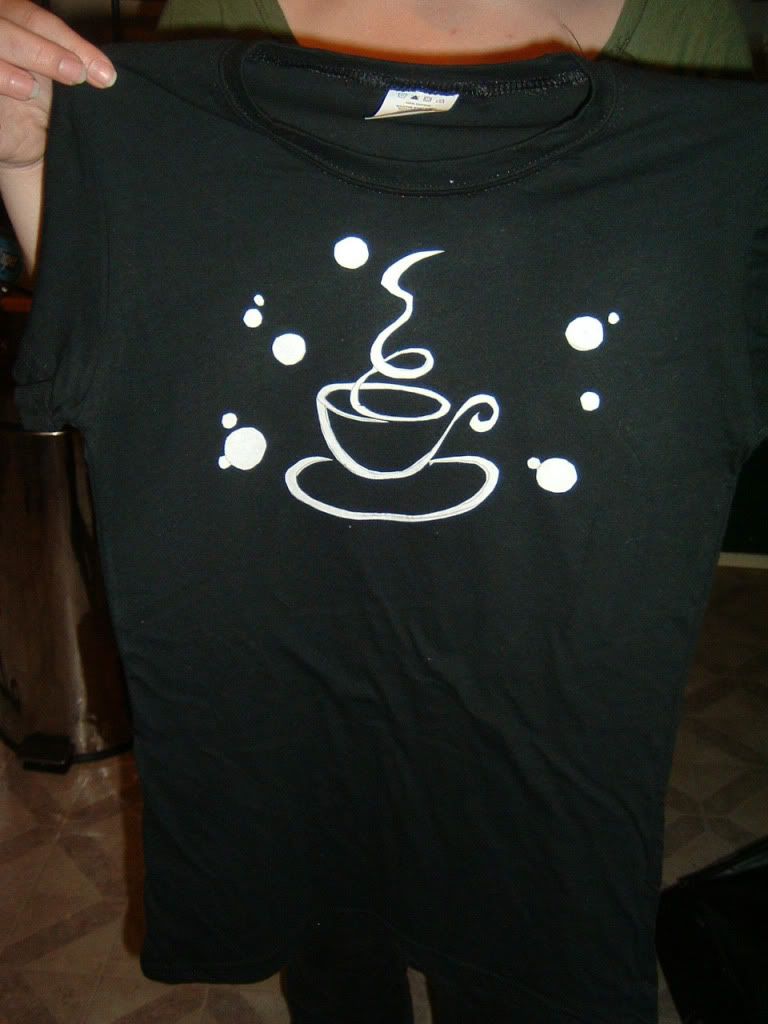
The next one is my coffee shirt that started out perfect. It was a great java color but without the stencil working, I had to think of something to save the idea. I went and got spray paint lol. I used just a tad and held it a ways away from the shirt and sprayed gray around the stencil. Overall, I don't think it came out badly at all.

It doesn't smell like paint or feel weird, but I would suggest the dye spray paint for fabric and not what I used. I just used what I had on hand to save the shirt. Anyways, I like how it came out. But since I had learned what bleached the fabric more, and what not to do.... I was a lot better equipped to do the oldest' shirt before he got home.
I wanted to do something baseball related, since he is really getting into it and he is quite the pitcher. I found a picture of him on the pitchers mound and stenciled a silhouette of himself and how he stands. I drew a big pitcher's base and drew his name behind him in graffiti lettering. Then I cut the stencil out and ironed it on. Next, I mixed half water and half bleach in a spray bottle. I had cardboard for this one so I placed a garbage bag in the middle of the two sides of the shirt with cardboard on the top of the bag ( so it would be ... front of shirt/ cardboard / trash bag / back of shirt ) Hopefully I didn't make that too confusing. I should have taken a picture of that. I then went to the bathroom and laid it on the side of the tub so it was flat. I didn't want the drips this time from the line. I lightly sprayed the shirt but did NOT keep spraying when I didn't see immediate results. This helped a lot! I used a hair dryer to speed up the lightening process a little but then when I liked what I saw I put the shirt in cold water. I rinsed the shirt completely and threw it in the wash. Next it was dried and this is the outcome of the second try:
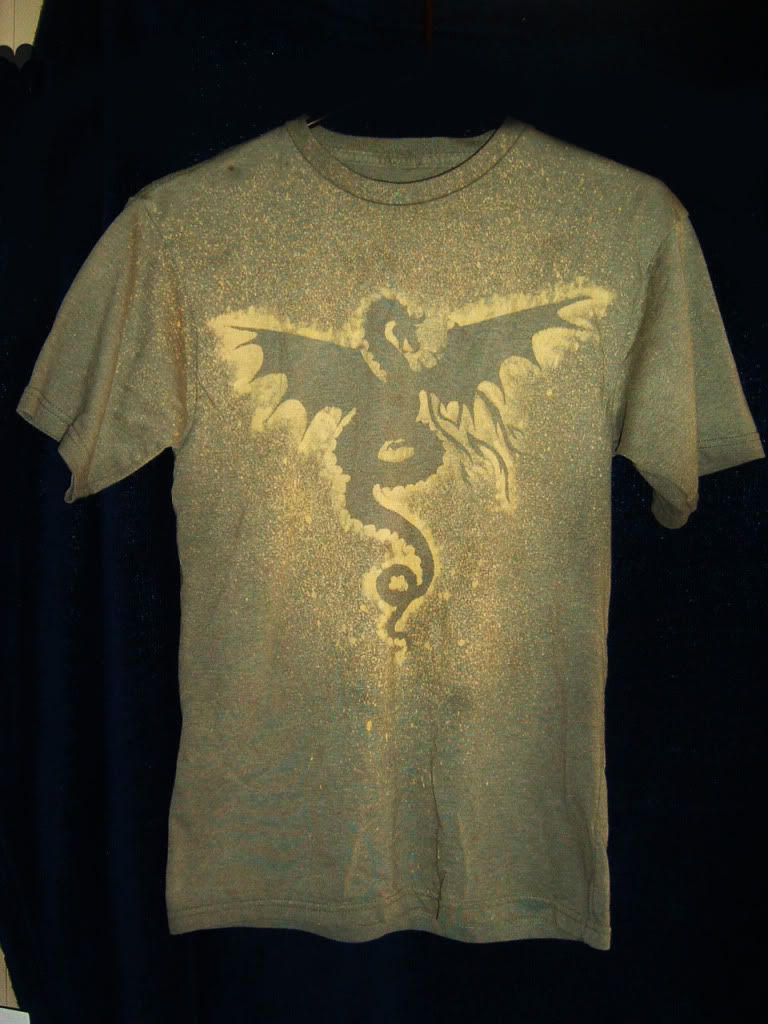
 I think it came out much better! He seemed to really like it too. So now I was on the hunt for solid colored T Shirts. Who needs plain ones anyway? lol. So with the new tricks I made some more and hit a couple more snags. It also matters what cardboard you use and the dyes in the shirt make a huge difference. Lighter shirts came be harder or easier which make it kind of confusing. But, I can tell you this... if your cardboard is kinda thick and absorbs really well... you may end up with splotchy bleach that ruins the stencils. Take a look at the ones below.... notice the bleach where the stencil was but that I went over the design in sharpie:


So in order to stop this from happening... I used an eye brush for most of going around the stencil and then did a pump or two on the spray bottle. Not match at all so I didn't saturate the stencil. ( I swear a big part seemed to be the Reynolds brand freezer paper, because the store brand one I used the first time stuck much better and did a better job. Just saying.... ) Here is one of the last ones I did... the oldest has the luck of getting my best results.
So slowly but surely, I am getting the hang of this craft and absolutely love it. This is such a great thing to know because for very little money you can make great customized gifts for even teenagers and have it go over well. It is very hard to impress a 9 yr old that has his own wii, ds, computer and I'm sure cellphone from his mother... but this takes time and is really something he loved. He liked his baseball one but actually got excited over the dragon tee. That is not a very common occurence :) So it is a keeper.. and over all price if you had to buy everything because you didn't have it on hand is:
tshirt - $1.00
bleach - $1.00
Reynolds (I would try other brands) freezer paper - $6.00
water - free
you need to have an iron
I hope you have fun doing this as well! Please show me what you do and give me pointers as well if you know something that works well with this craft. I am new at this but I just had to share. I will ask my sister where she saw the original post that she learned it from but you can find it all over the net if you google freezer paper stencil shirt. Thanks for reading and thank you to my sister for the fun craft to do!


0 comments:
Post a Comment